
React Project involves boiler plate code, why reinvent the wheel and do the repetitive task when time can be saved to setup react project and quick start on it. This article gives you guide on how to setup react project
Let’s use create-react-app to create project directory structure with boilerplate plate code
(Optional) Upgrade npm
npm install -g npm@nextInstall create-react-app
To make sure latest create-react-app is available to be used by command npm, uninstall and install the package
npm uninstall -g create-react-app
#(or)
yarm global remove create-react-app
Install create-react-app
npm install -g create-react-appUsing npm or yarm
npm init react-app my-react-app
yarn create react-app my-react-app
Create react application
npx create-react-app my-react-appQuick commands to work with (for yarm)
yarn start
Starts the development server.
yarn build
Bundles the app into static files for production.
yarn test
Starts the test runner.
yarn eject
Removes this tool and copies build dependencies, configuration files
and scripts into the app directory. If you do this, you can’t go back!
create-react-app uses the yarn package manager by default that is good thing. But, if you don’t want yarn and prefer to use npm instead do the following
rm -rf yarn.lock
rm -rf node_modules
npm install
(Or) run create-react-app command with command line option –use-npm to use npm to install packages rather than yarn as follows
npx create-react-app my-app --use-npmStart the development server using npm
npm start Make sure, you make life easier by install “react development tools” browser extension. This extension is available for all major browsers.
Install Read Developer tools for chrome
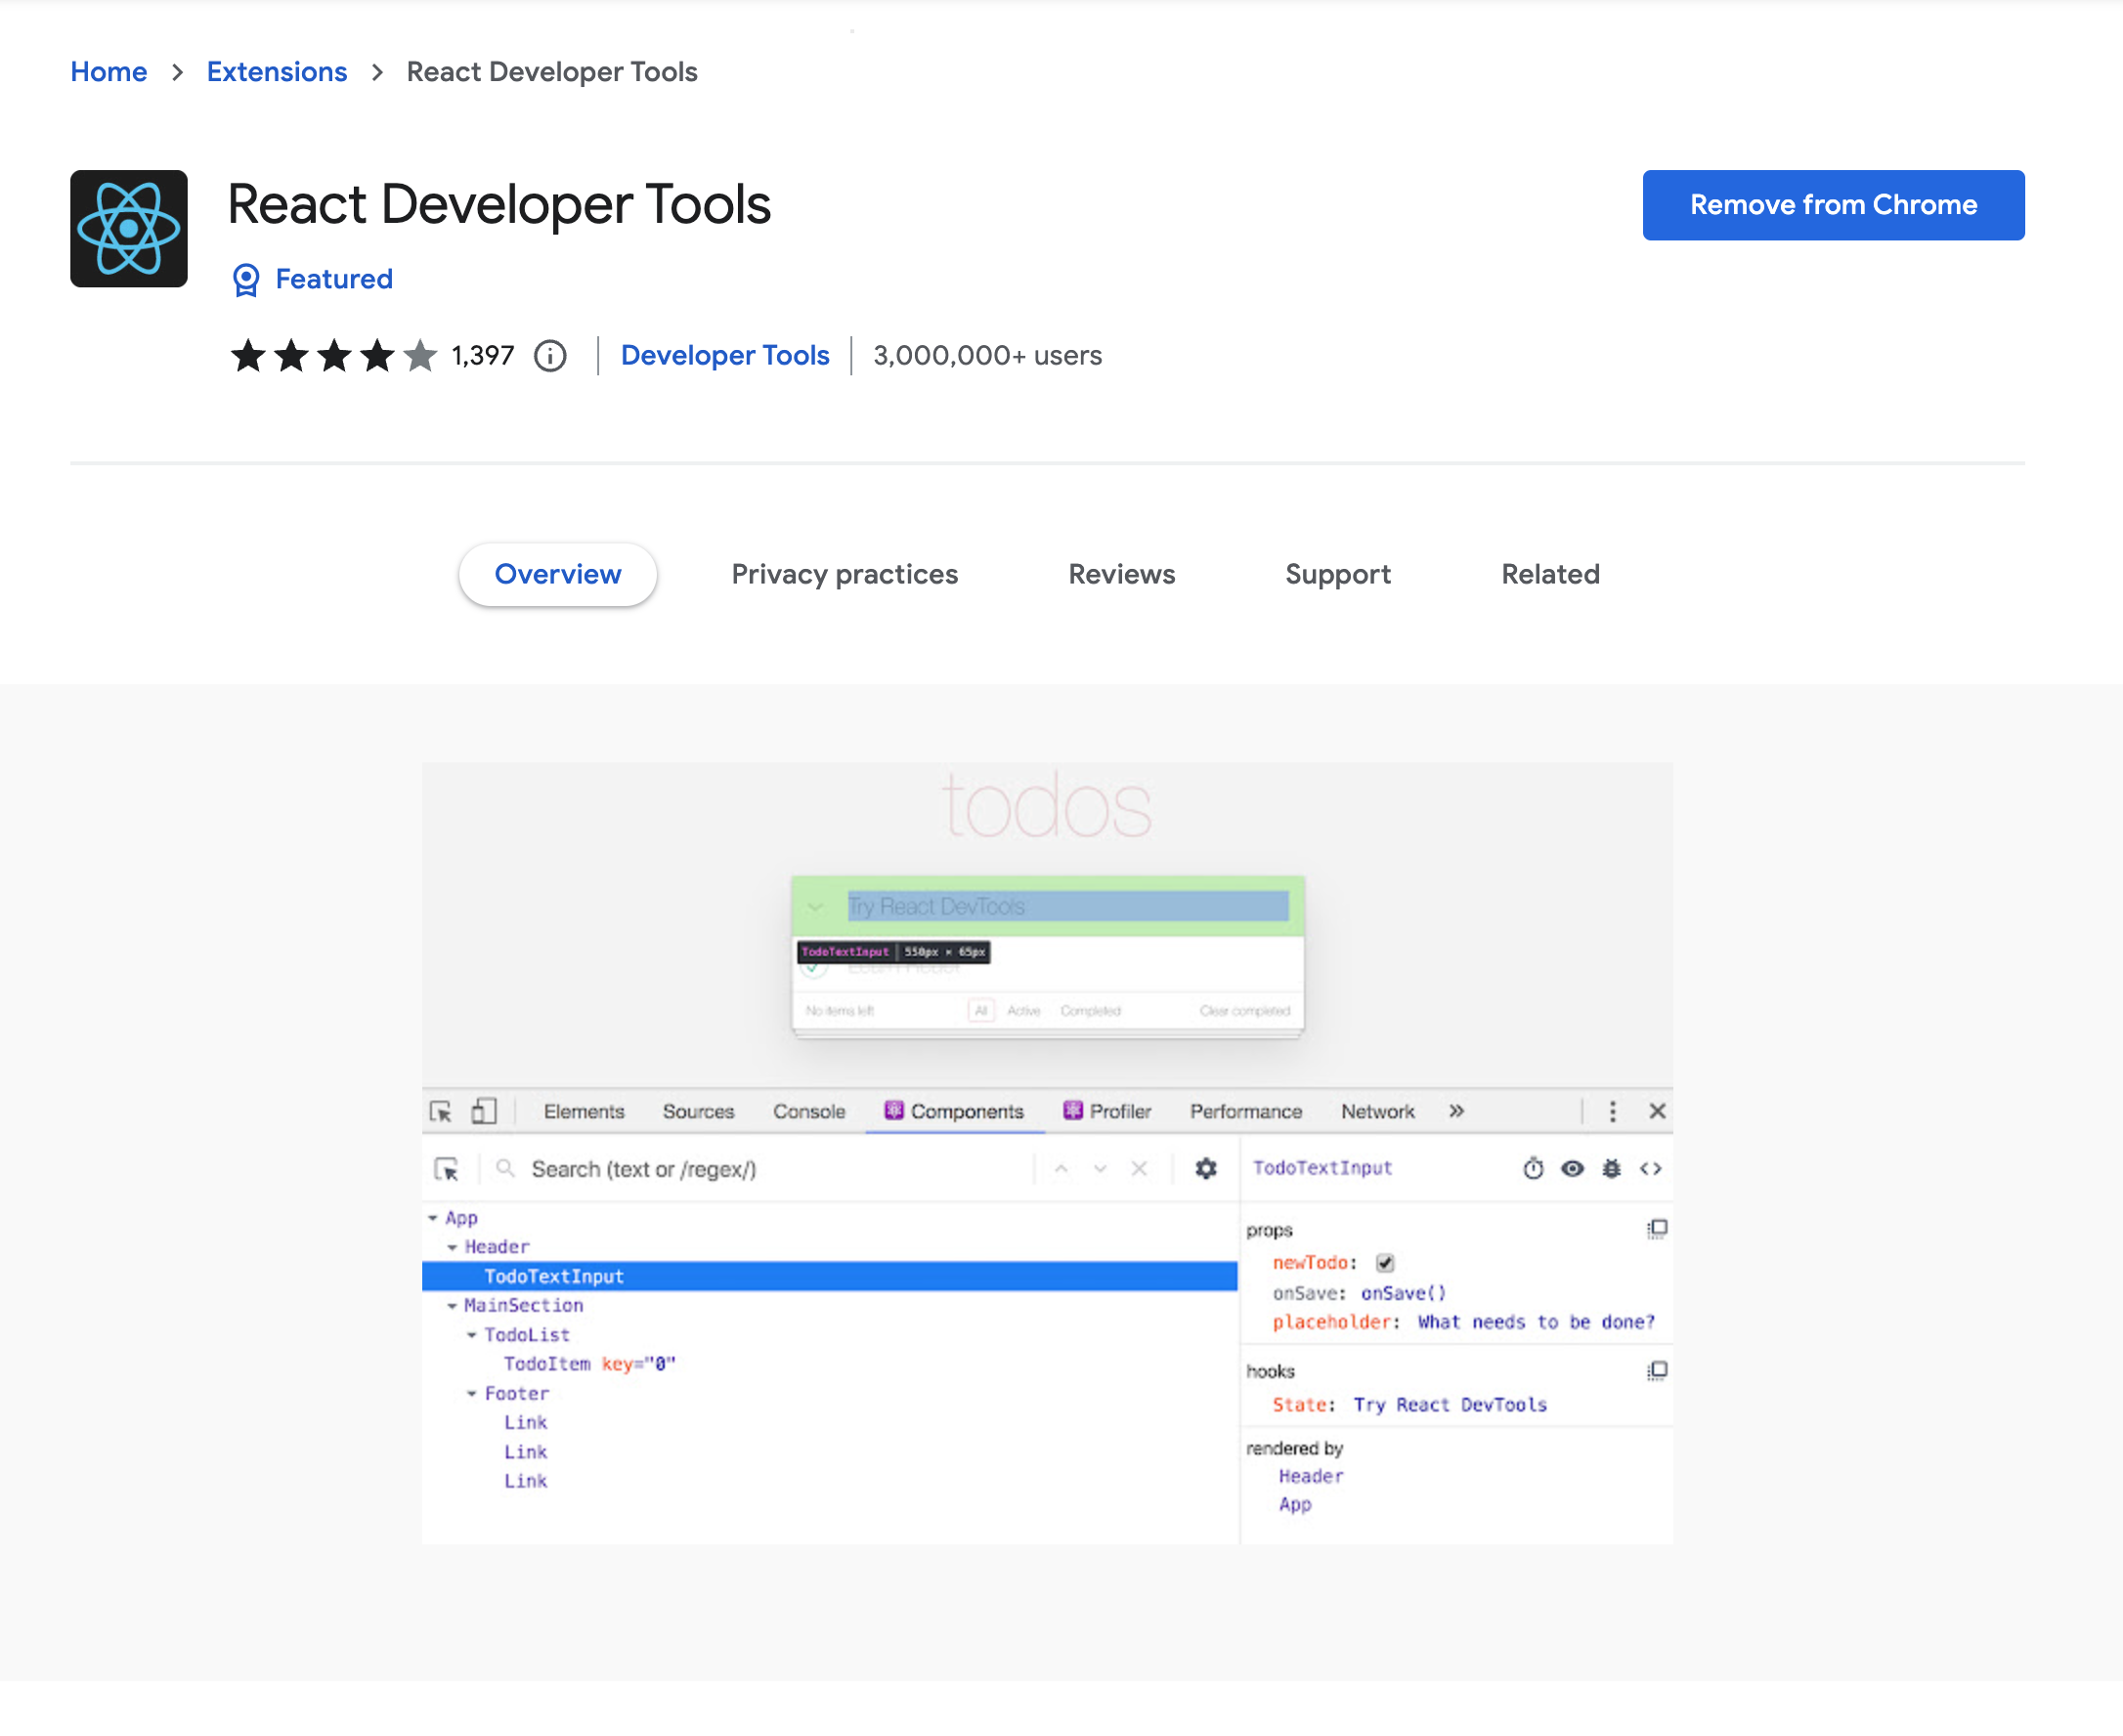
React Development Tools Extension for other browser to install as follow
File structure that “create-react-app” bakes for you is
my-app/
  README.md
  node_modules/
  package.json
  public/
    index.html
    favicon.ico
  src/
    App.css
    App.js
    App.test.js
    index.css
    index.js
    logo.svg
Happy React ! 🙂


Leave a Reply